
Before And After Image Slider Plugin
Installation Steps
Step 1 (a): CSS code injection footer
Place the following CSS code in the Code Injection section.
Pages > Custom Code > Code Injection > Header

Step 1 (b): JS code injection footer
Place the following javascript code in the Code Injection section.
Pages > Custom Code > Code Injection > Footer
How to Add the Before and After Image Slider
Upload the slider images to your Squarespace site.
Open the page where you want the Before and After Slider to appear and add a code block.
Generate the HTML code for the Before and After Image Slider.
Copy and paste the HTML code into the code block.
Customise the Before and After Image Slider as needed.
Copy and paste the CSS code into the Advanced section of the page where you want the slider to appear.
Finally, don’t forget to save the page.
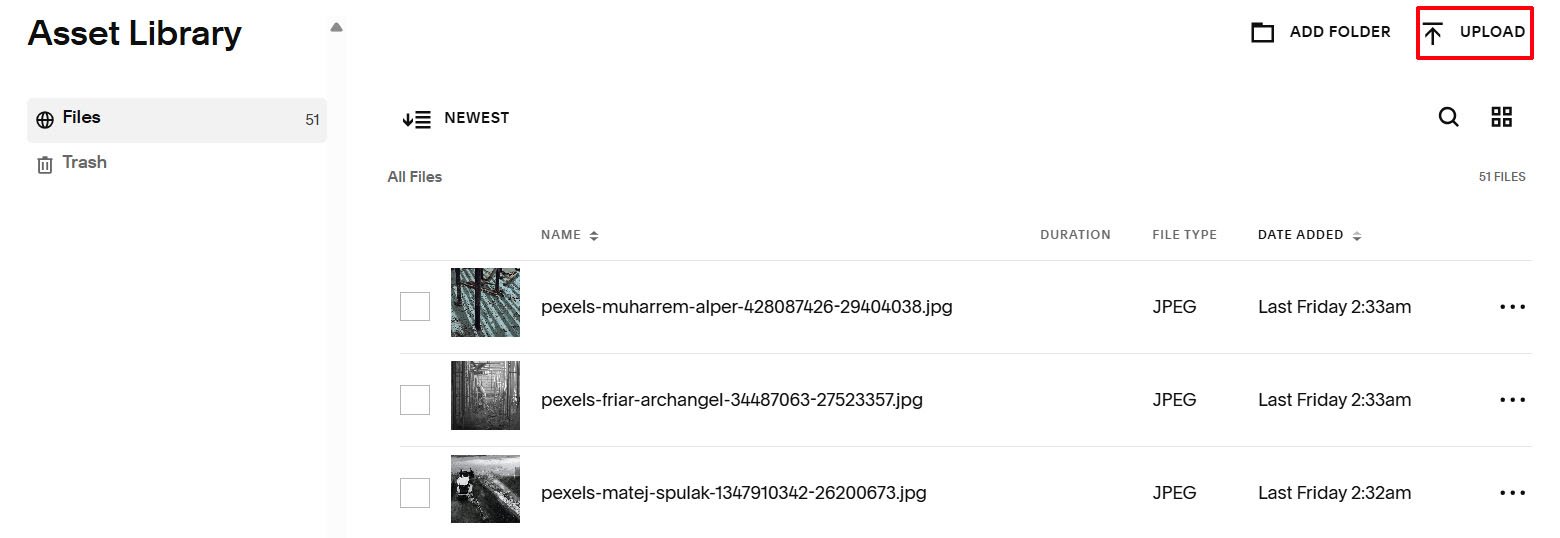
Step 2: Upload slider images
Upload the slider images onto Squarespace.
Website> Assets > upload
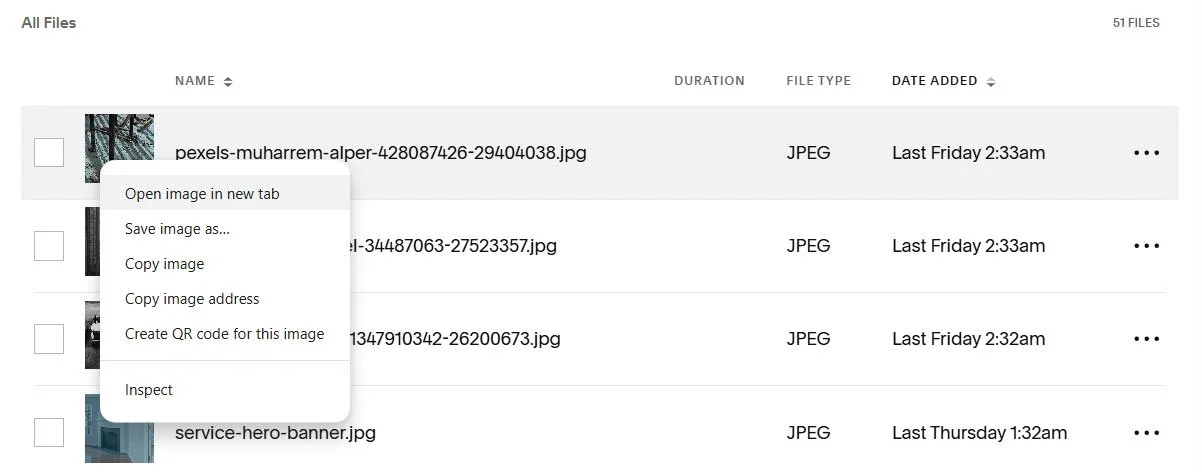
Highlight the image of interest and right mouse click and select the option - 'Open image in new tab'.
Then copy the url of the image in the new tab, for this example it is - https://images.squarespace-cdn.com/content/668c258a02b9c225f0bc7ec3/99de8476-c371-4921-81c1-70c267bdb8f6/pexels-muharrem-alper-428087426-29404038.jpg?content-type=image%2Fjpeg.
Remove everything from the ‘?’ onwards i.e. ?content-type=image%2Fjpeg.
So it becomes:
Repeat this step for the second image.
Step 3: HTML code generation for ‘Before And After’ image slider
Open the page where you want the before and after image slider to appear.
Enter the sentence before the typing carousel effect.
Create a code block on the page and copy the code below.
URL for the before image
URL for the After image
Label for the before image
Label for the After image
<img class="slider-before" src="/image-before.jpg" alt="Before" data-label-before="Before">
<img class="slider-after" src="/image-after.jpg" alt="After" data-label-after="After">
<div class="slider-handle" tabindex="0"></div>
</div>
Step 4: ‘Before And After’ image slider customisation
Slider Label Position
Slider Handle Colour
Slider Border Radius
Slider Border Width
Slider Border Colour
Slider Border BoxShadow
Slider Border BoxShadow Colour
Label BoxShadow Colour
Label Colour
Label Padding
Step 5: Copy ‘Before And After’ image slider CSS code
Copy the generated CSS code for your ‘before and after’ image slider.
Place the following code in the advanced section of the page the ‘before and after’ image slider is to appear.
Click Pages in the left-hand menu
Locate the page you want to edit (Main Navigation or Not Linked)
Hover over the page name
Click the ⚙️ gear icon (Page Settings)
In the Page Settings window, click Advanced
<!-- Before and After Slider © IGH Creations -->
<!--------------------------------------------------------->
<style>
:root { /* ===== Slider Options ===== */
--slider-position: ; /* Label position on slider: 'top' or 'bottom' */
/* ===== Slider Handle Styling ===== */
--pcSlider-handle-bkg-color: ; /* Color of the vertical handle */
/* ===== Slider Container Styling ===== */
--pcBorder-radius: ; /* Rounded corners of the slider */
--pcBorder-size: ; /* Border thickness */
--pcBorder-colour: ; /* Border color */
--pcBoxShadow: ; /* Shadow offset and blur */
--pcBoxShadow-colour: rgba(169, 134, 44, 0.9); /* Shadow color */
/* ===== Label Styling ===== */
--pcLabel-bkg-color: rgba(0,0,0,0.5); /* Background color of labels */
--pcLabel-color: #ffffff; /* Text color of labels */
--pcLabel-font-size: var(--normal-text-size-value); /* Font size of labels */
--pcLabel-padding: 4px 10px; /* Padding inside labels */
}
</style>
<!-- Before and After Slider © IGH Creations -->