
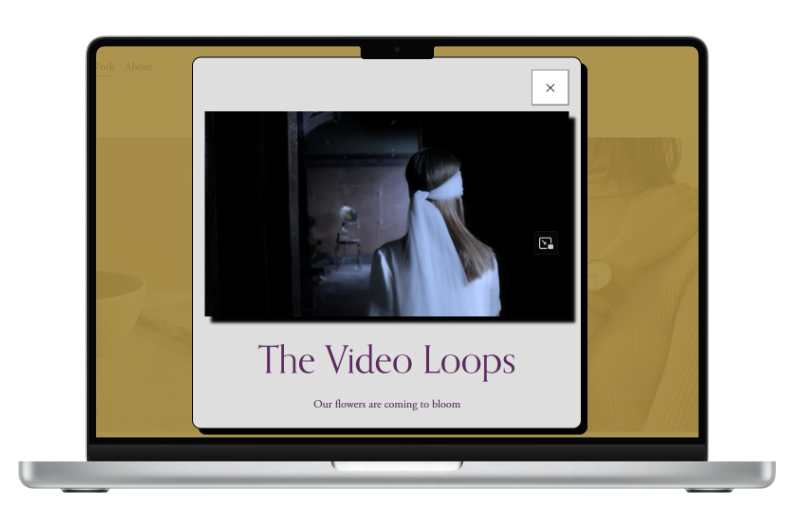
Opening Scene Plugin
Installation Steps
Step 1: Code injection footer
Place the following code in the Code Injection section.
Pages > Custom Code > Code Injection > Footer
Next steps - Opening Scene design customisation options
Generate the CSS code.
Work through steps 2 to 6 of the Opening Scene installation interface to customise as needed.
Copy the generated CSS code (step 7) and paste it in the Code Injection section of your website.
Pages > Custom Code > Code Injection > Header
Finally don’t forget to save the page.
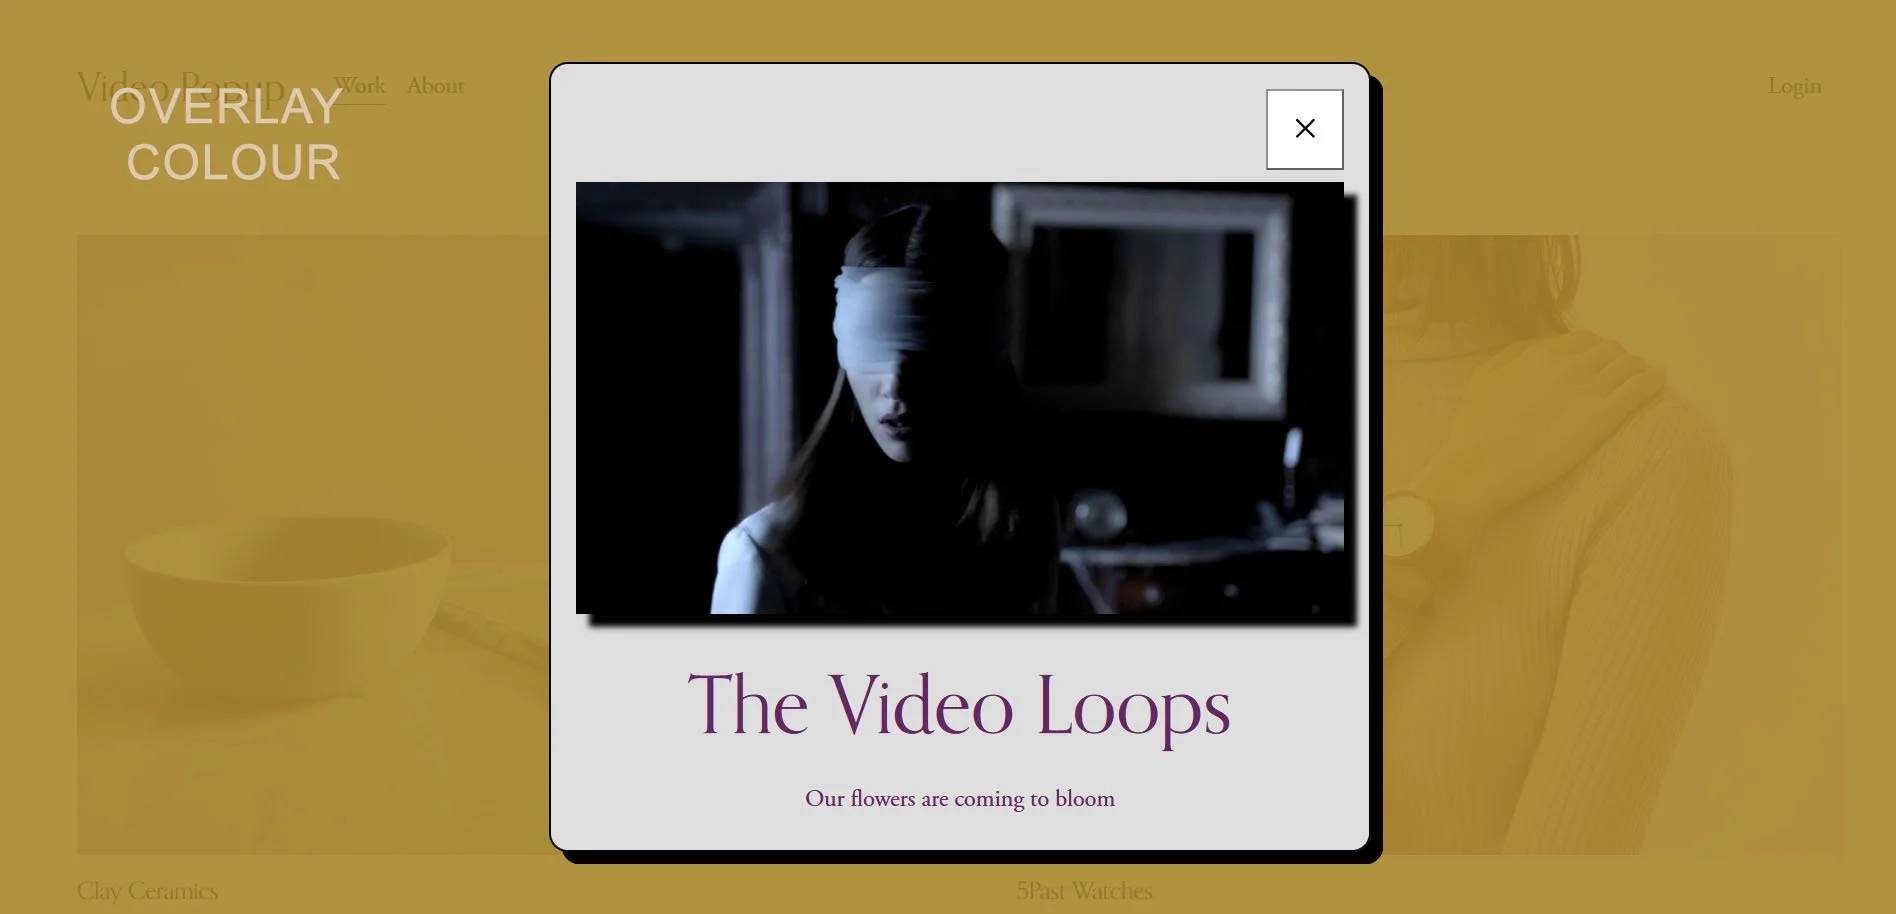
Step 2: Opening Scene Overlay Colour
Click on the colour button and select the colour for overlay background colour as well as the opacity level.
Overlay Background Colour
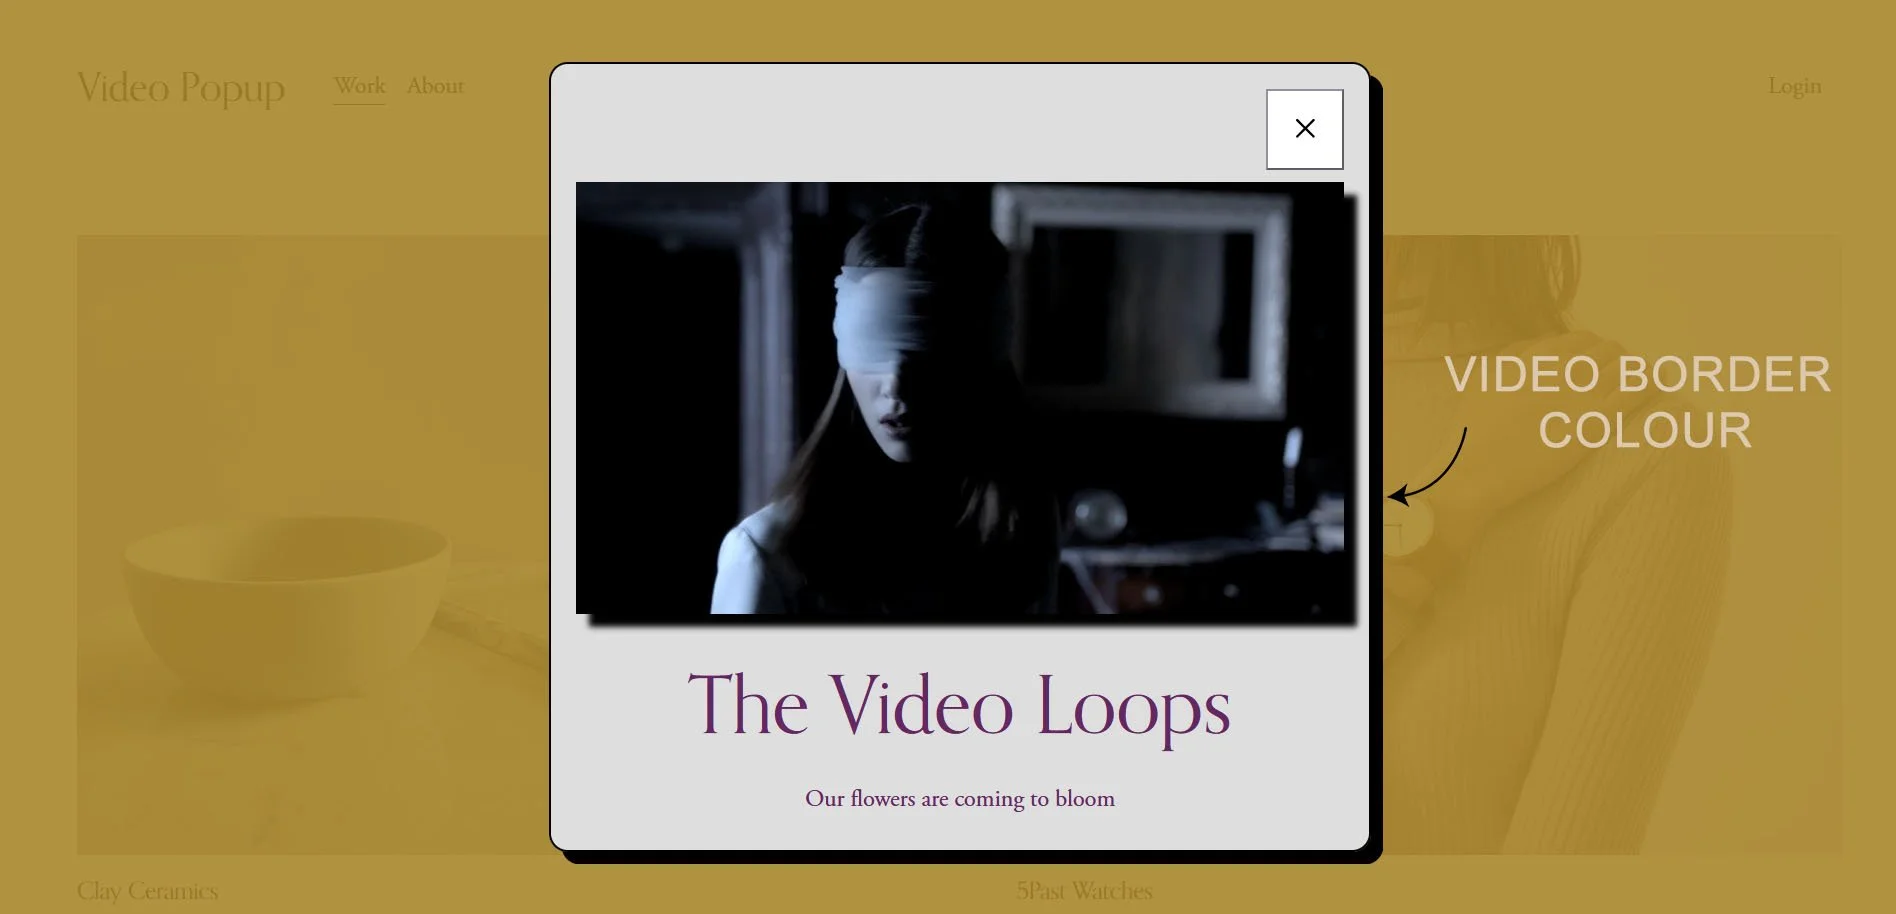
Step 3: Opening Scene Border Colour
Click on the colour button and select the colour for the Opening Scene border.
Video Colour
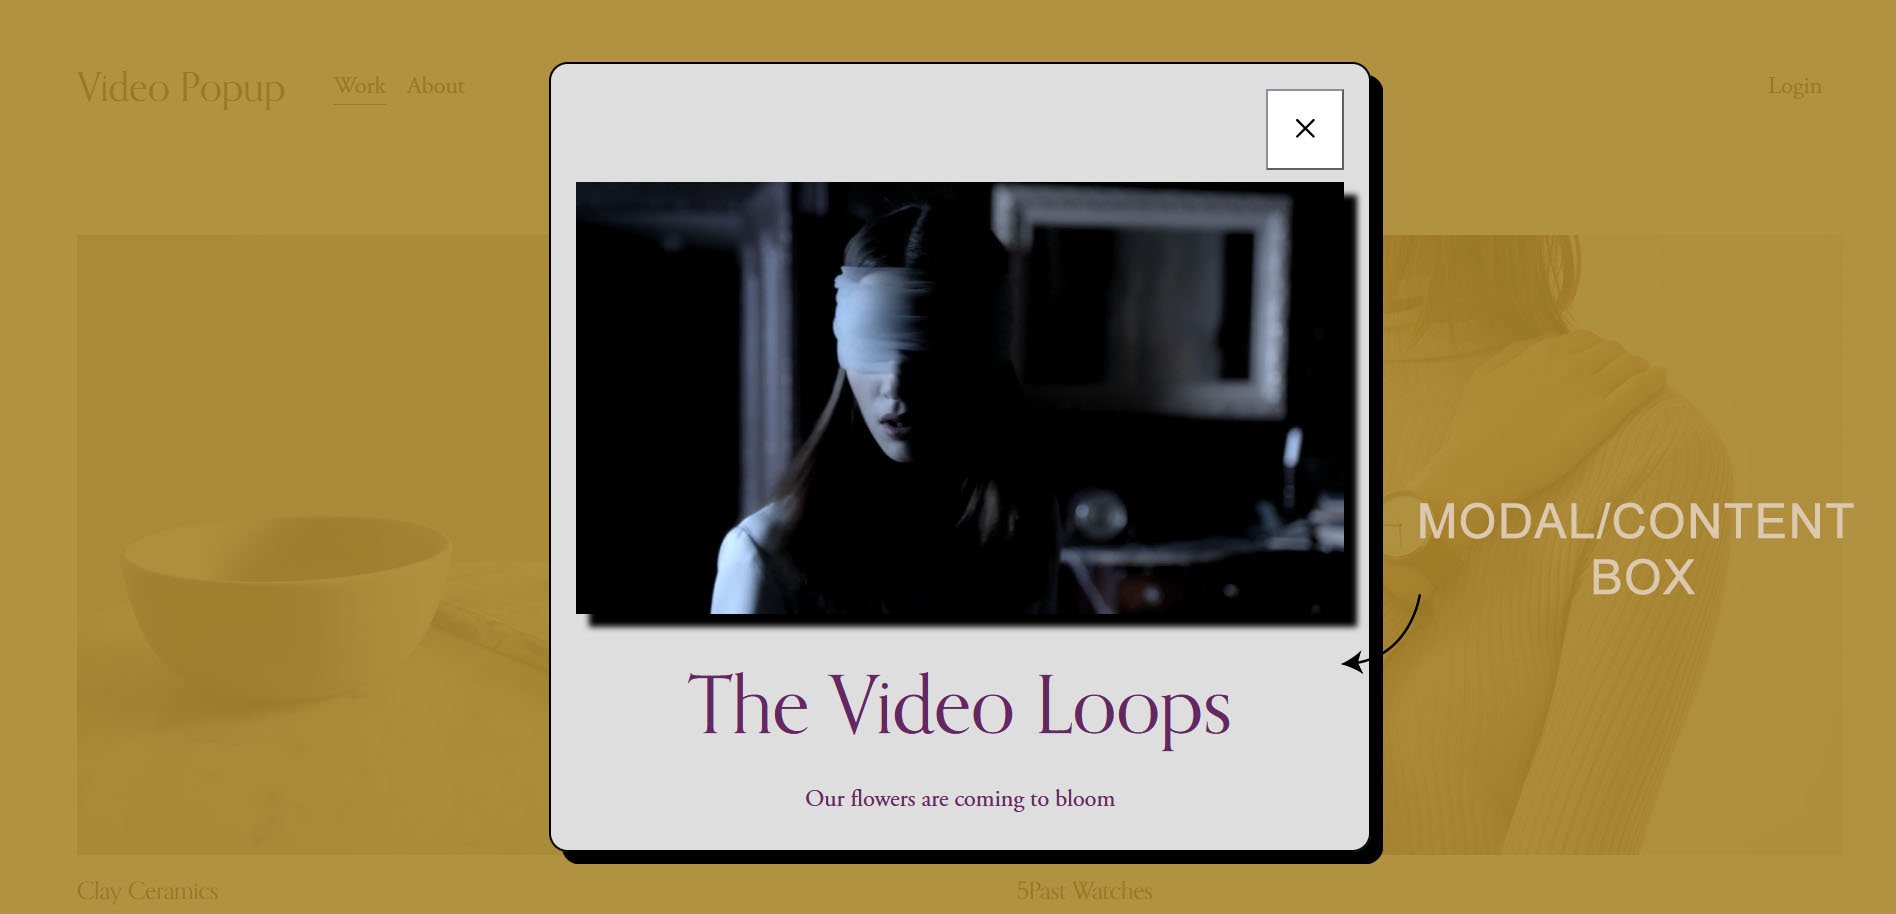
Step 4. Opening Scene Modal / Content Box
Click the colour button and choose a colour for the modal/content box. Enter values for the modal/content box padding and border radius to create curved edges. Then, click the colour button to select the border colour, and finally enter a value for the modal/content box width.
Modal Background Color
Modal Padding
Modal Border Radius
Modal Border Color
Modal Border Width
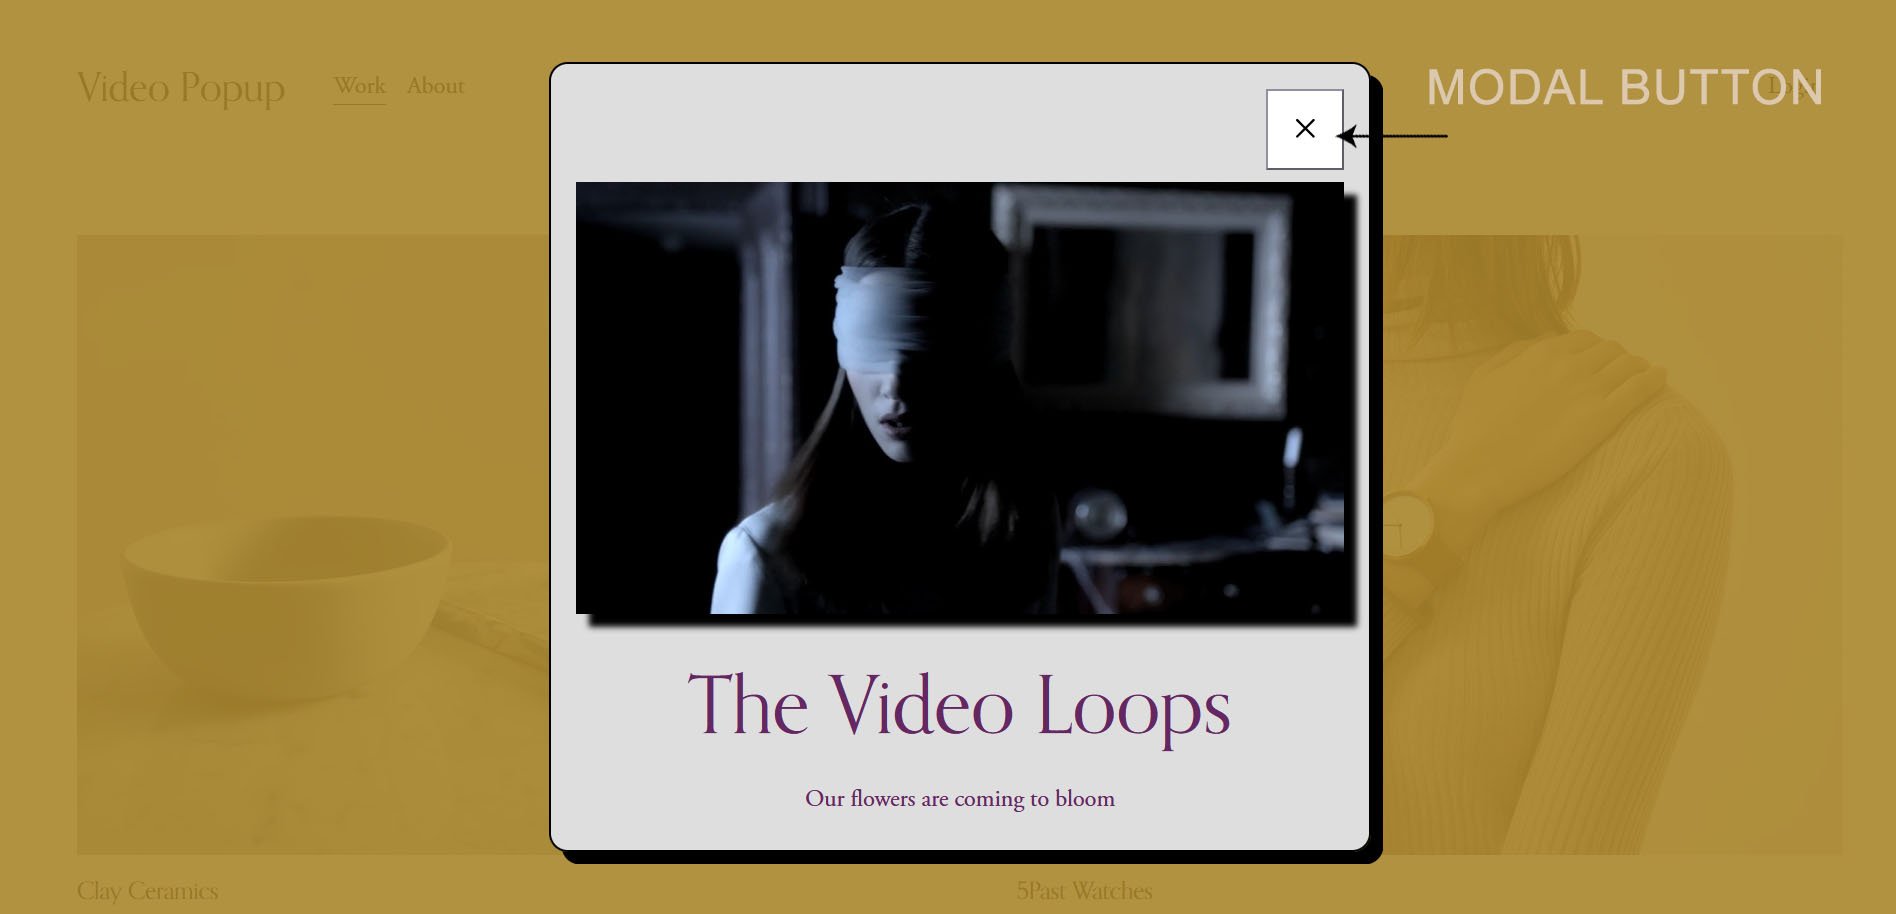
Step 5: Opening Scene Modal Button
Click the colour button and select a colour for the modal/content box button background. Repeat the process for the button’s hover background colour. Then choose a color for the icon and another color for its hover state.
Modal Button Background Colour
Modal Button Background Colour Hover
Modal Button Icon Colour
Modal Button Icon Colour Hover
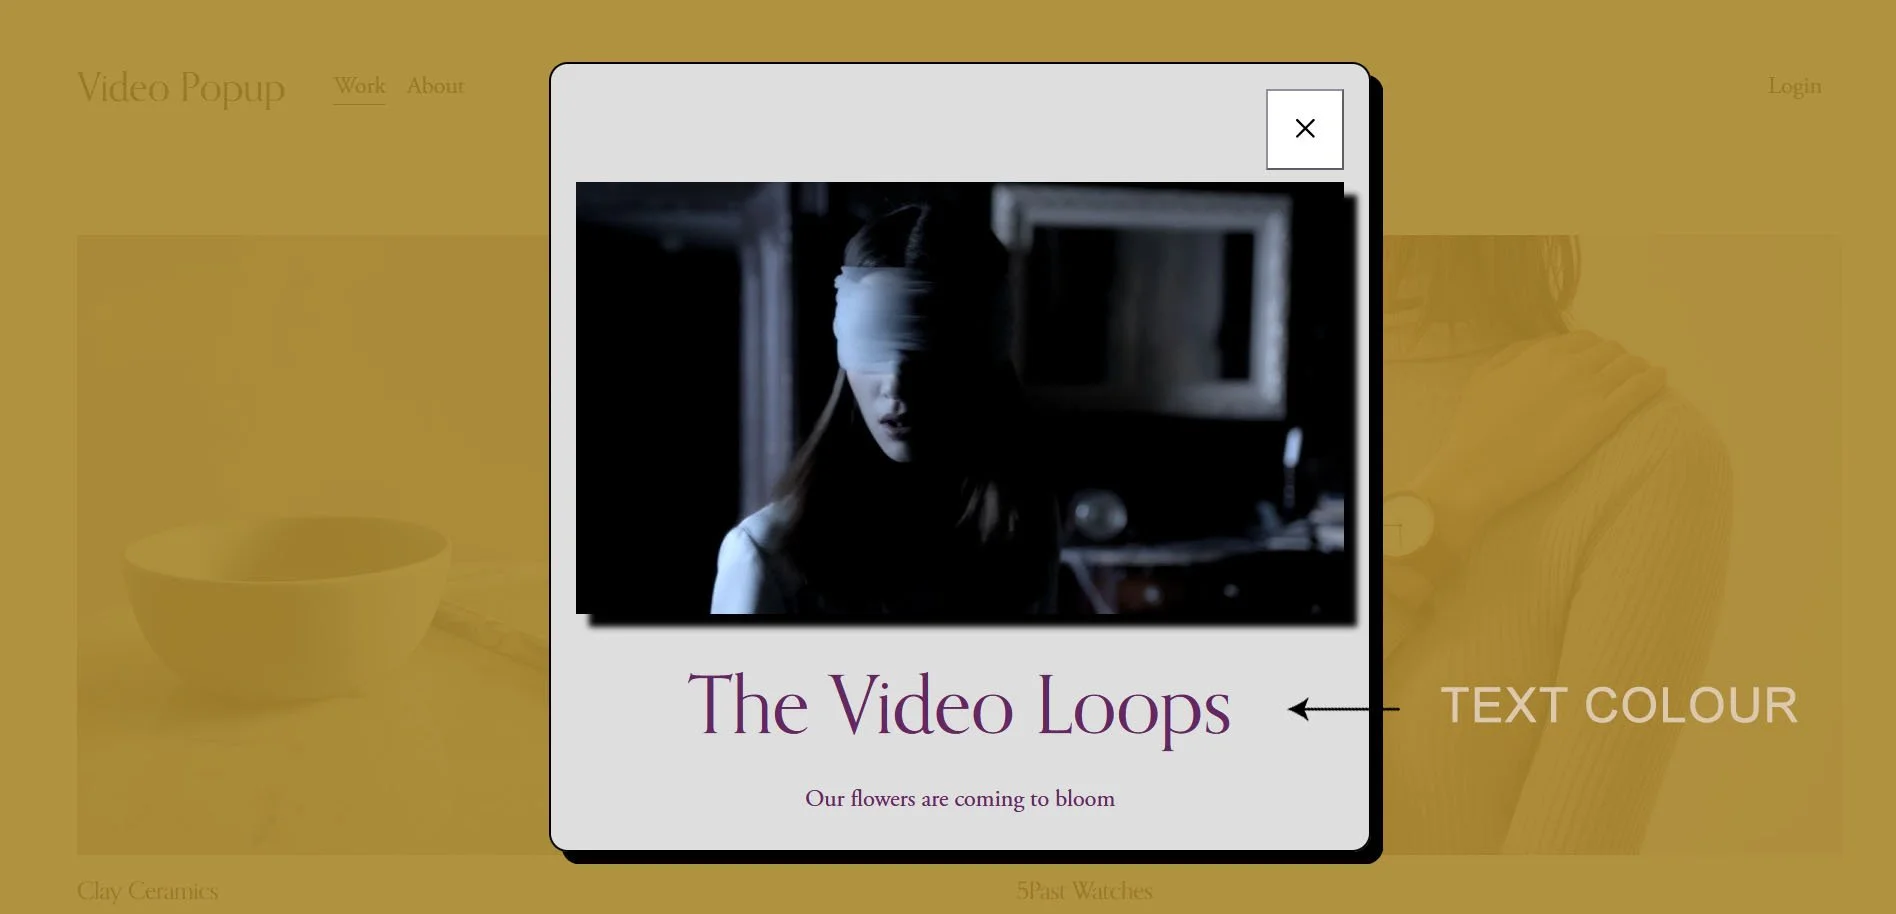
Step 6: Opening Scene Text Colour
Click on the colour button and select a colour for the text and description for the Opening Scene pop up.
Modal Text Colour
Step 7: Copy Opening Scene CSS code
Place the following code in the Code Injection section.
Pages > Custom Code > Code Injection > Header
/*=======================================
Opening Scene plugin © IGH Creations
========================================= */
:root {
/* Overlay */
--overlay-bg-color: rgba(169, 134, 44, 0.9);
/* Video */
--video-shadow-color: #000000;
/* Modal / Content Box */
--modal-bg-color: #ffffff;
--modal-padding: 20px;
--modal-border-radius: 15px;
--modal-border-color: #000000;
--modal-border-width: 2px;
/* Buttons */
--button-bg-color: ;
--button-bg-hover: ;
--button-text-color: ;
--button-text-hover: ;
/* Text */
--content-text-color: #652762;
}
</style>
Next steps (8 to 9) - Opening Scene content options
Generate the JS code
Enter the Popup title
Enter the Popup description
Enter the link, this could be an image, a squarespace video upload, Youtube and finially Vimeo
Select the media type from the dropdown menu - Image | Video | Youtube | Vimeo
Select option of yes or no for the video to autoplay onload
Select option of yes or no for the video to be unmuted onload. Please note this option is browser dependent
Select option of yes or no for the video controls to be shown.
Select option of yes or no for the video to be looped.
Select option of yes or no for the video to be auto pause (allows you to automatically pause your media playback).
Select option of yes or no to disable the opening scene popup on mobile.
Select option of yes or no. "Yes" - Popup shows once per browser session , "No" - Popup shows on every page load.
Copy the JS code and paste it into the Code Injection section of your website.
Pages > Custom Code > Code Injection > Header
Finally don’t forget to save the page.
How to upload images on Squarespace
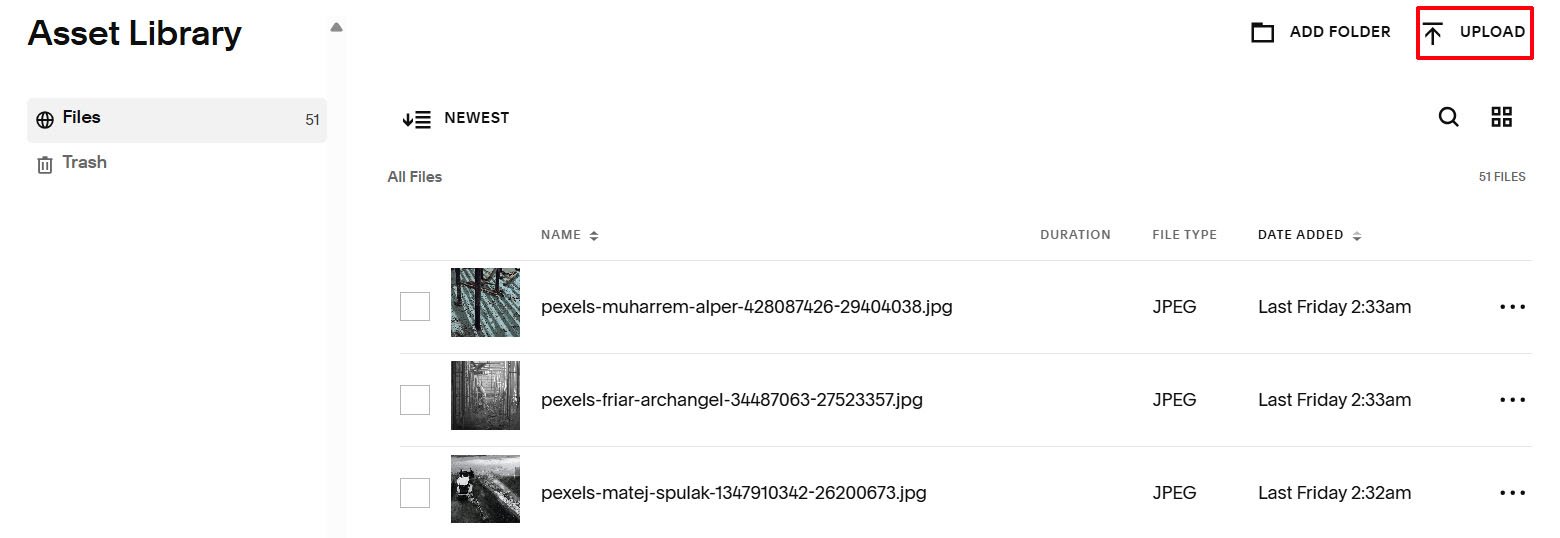
Upload the slider images onto Squarespace via.
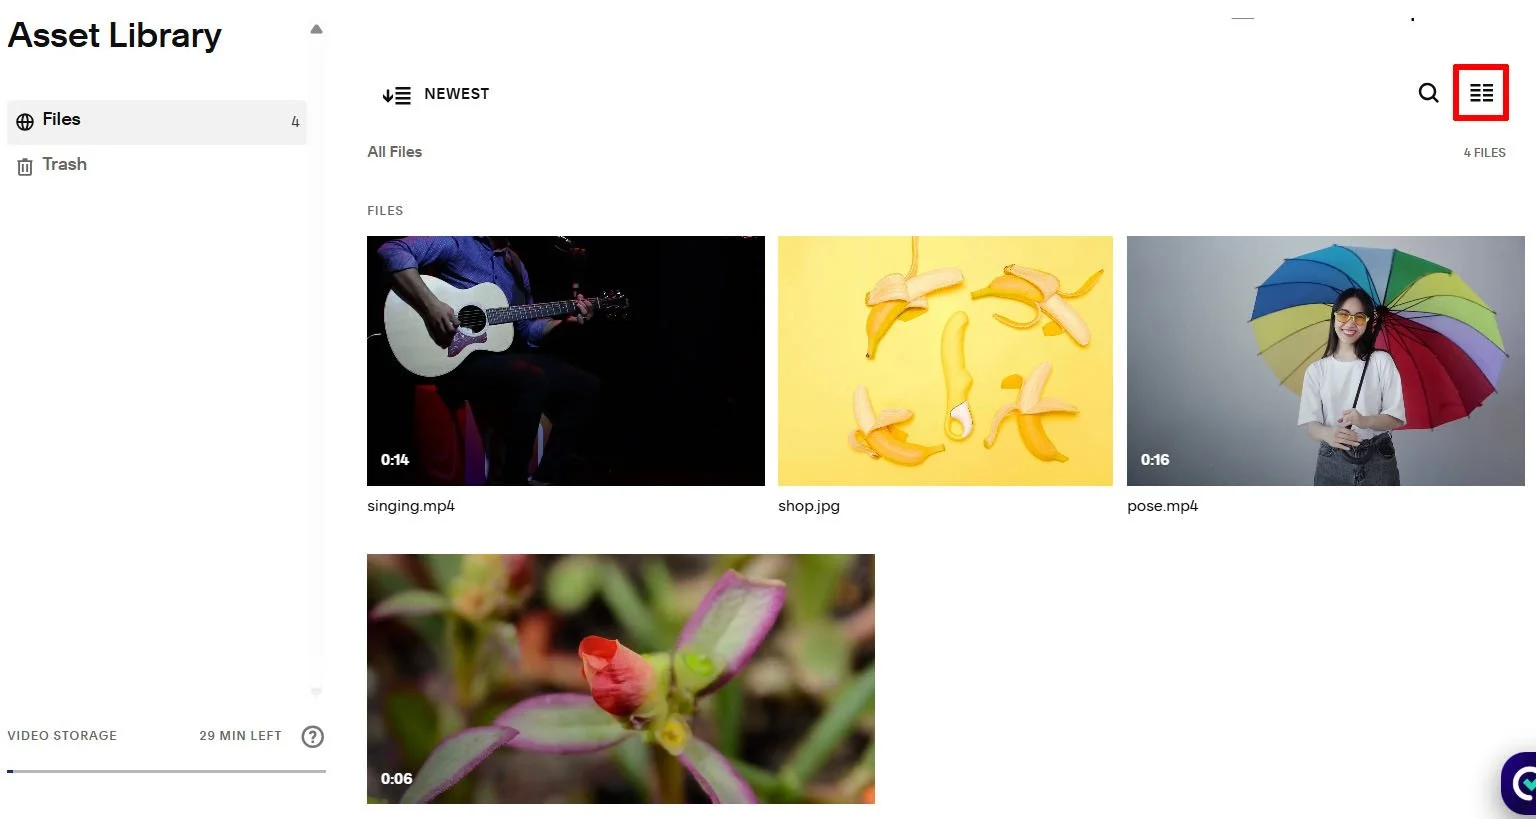
Website > Assets > upload
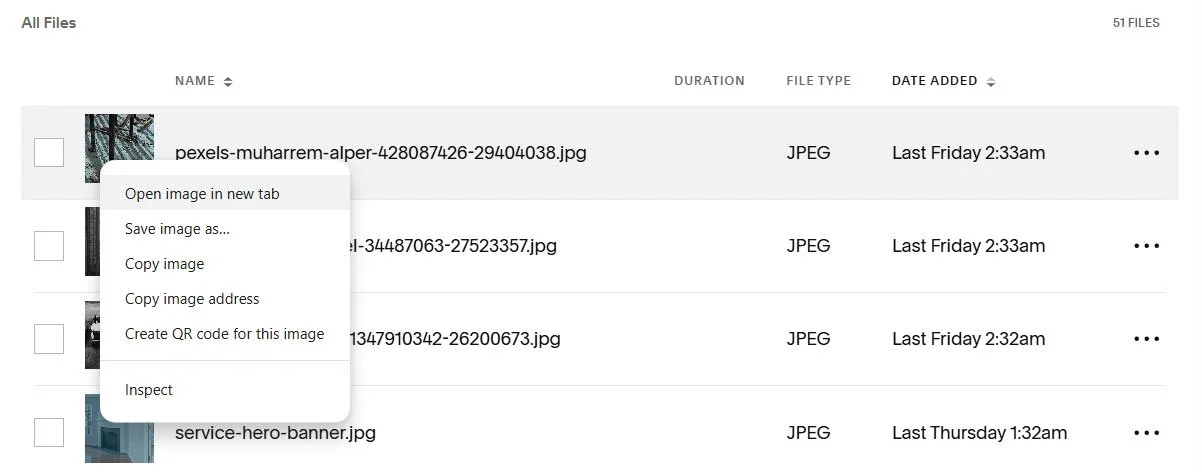
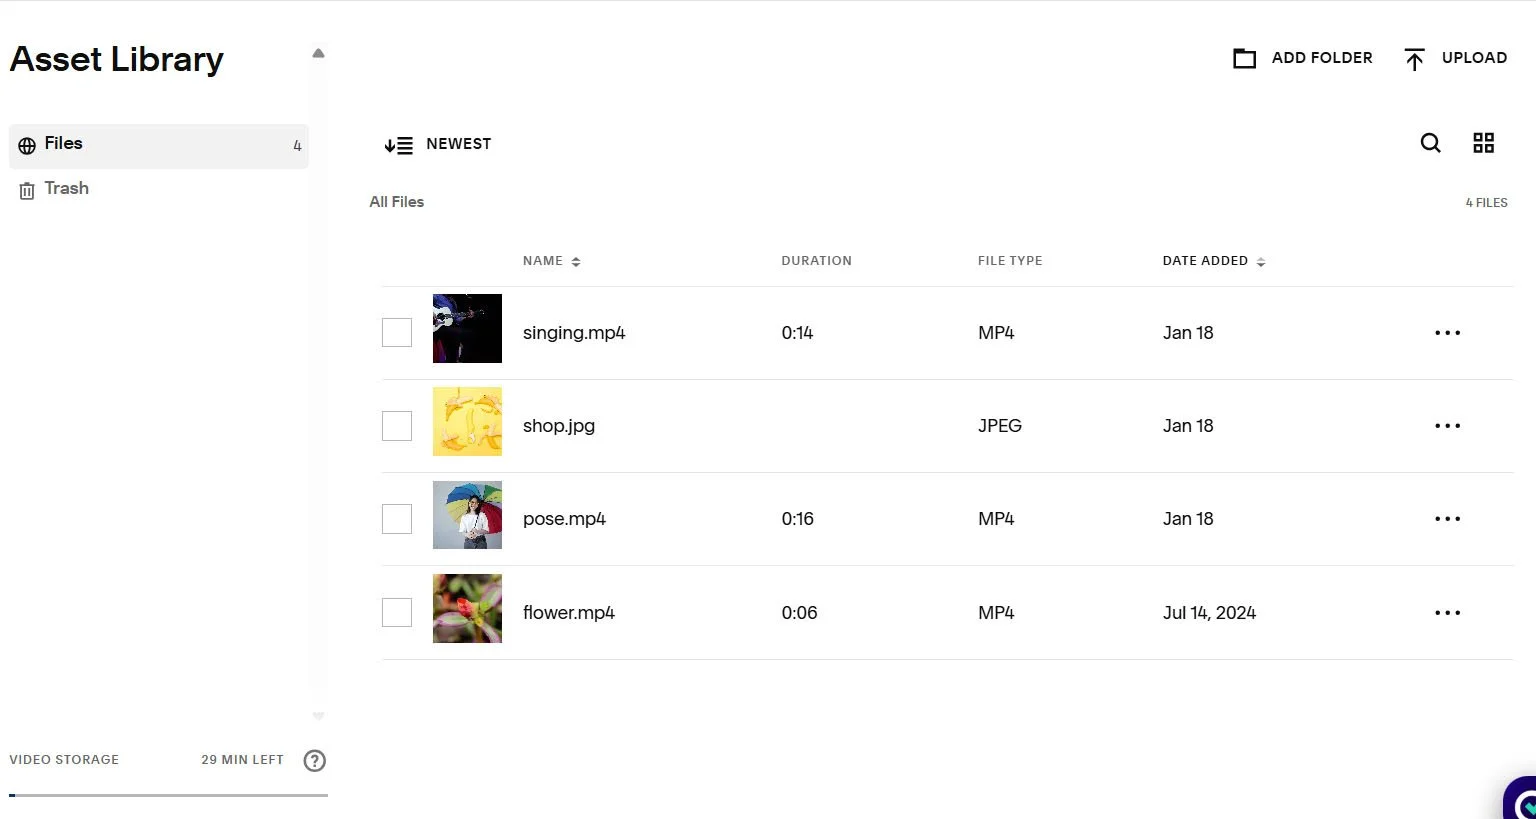
Ensure that the images are displayed in the ‘view as list’ layout and NOT ‘view as grid’. Hover above the image of interest and right mouse click and select the option - 'Open image in new tab'.
Then copy the url of the image in the new tab, for this example it is - https://images.squarespace-cdn.com/content/668c258a02b9c225f0bc7ec3/99de8476-c371-4921-81c1-70c267bdb8f6/pexels-muharrem-alper-428087426-29404038.jpg?content-type=image%2Fjpeg.
Remove everything from the ‘?’ onwards i.e.?content-type=image%2Fjpeg.
So it becomes:
Then use this link for the ‘video/Image link’ option.
How to upload videos on Squarespace
Upload the video onto Squarespace via.
Website > Assets > upload
Ensure that the video images are displayed in the ‘view as list’ layout and NOT ‘view as grid’. Highlight the video image of interest and right mouse click and select the option - 'Open image in new tab'.
Then copy the url of the image in the new tab, for this example it is - https://video.squarespace-cdn.com/content/v1/669406ad59b90660bf6046d6/a9b6ebcd-b399-4ffb-b9cd-aa59c7ab5d35/thumbnail
Replace the word thumbnail at the end with playlist.m3u8
So it becomes:
https://video.squarespace-cdn.com/content/v1/669406ad59b90660bf6046d6/a9b6ebcd-b399-4ffb-b9cd-aa59c7ab5d35/playlist.m3u8
Then use this link for the ‘video/Image link’ option.
Lastly, add the video to a page in the “Not Linked” section and embed it using a video block. Save the page after embedding the video. To ensure the page is not indexed by search engines, click the gear icon for the page, go to the SEO settings, locate “Hide Page from Search Results,” and toggle this option on. Then save the page. Note by doing this, ensure that Squarespace recognizes the video as an active asset, which authorizes the video URL and eliminates the 401 error.
Step 8: JS code generation for Opening Scene options
Video Title
Video Description
Video/Image Link
Media Type
Autoplay Video
Unmute Video
Show Controls Video
Loops Video
Autopause Video
Disable Mobile Video
Opening Scene browser session
Step 9: Copy Opening Scene JS code
Place the following code in the Code Injection section.
Pages > Custom Code > Code Injection > Header
<!-- Opening Scene plugin © IGH Creations -->
<!------------------------------------------------------------>
<script>
// Variable Settings
const pcVideoSettings = {
pcVideoTitle: "The Video Loops", // Video Title
pcVideoDescription: "Our flowers are coming to bloom", // Video description
pcVideoLink: "https://vimeo.com/1051599199", // Your Video or Image link here.
pcVideoType: "Vimeo", // Options are 'Video|YouTube|Vimeo|Image' if none is entered it defaults to a random youtube video.
pcVideoAutoplay: "No", // Options are 'Yes|No' autoplays video.
pcVideoUnmute: "No", // Options are 'Yes|No' unmutes video.
pcVideoControl: "Yes", // Options are 'Yes|No' video control visibility.
pcVideoLoop: "No", // Options are 'Yes|No' loops video.
pcVideoAutopause: "No", // Options are 'Yes|No' pauses video.
pcVideoMobile: "No", // Options are 'Yes|No' disable popup on mobile.
pcLocalSession: "Yes" // Options are 'Yes|No' session-based popup.
};
</script>