
Progress Tracker Plugin
Installation Steps
Step 1: Code injection footer
Place the following code in the Code Injection section.
Pages > Custom Code > Code Injection > Footer
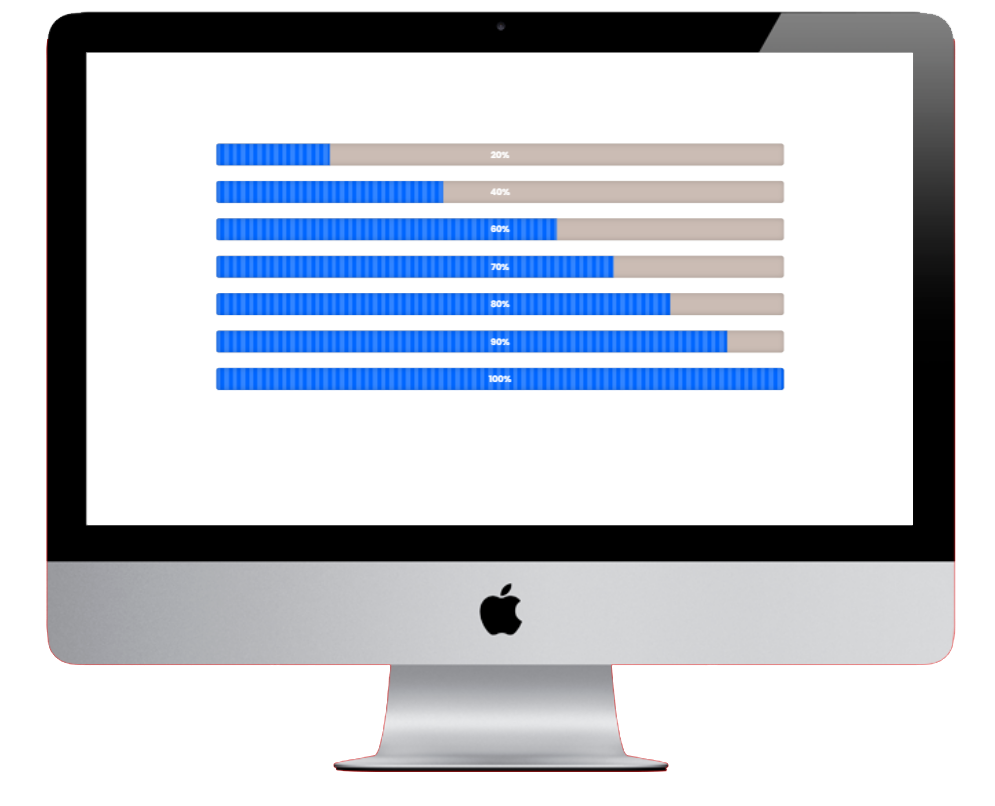
How to Add a Progress Tracker
Step 2: Click the Add Row button to create as many rows as needed.
Enter the text in the first box and a numerical value in the second number box for each row.
When finished click the Generate HTML button. This generates and copies the HTML code.
Open the page where you want the ‘progress tracker’ to appear.
Create a code block on the page and paste in the code.
Step 3: Customise the ‘progress tracker’ (font, colour, size, etc.).
Copy and paste the CSS Code in the Advanced section of the page settings, then click Save.
Step 2: Determine how the Progress Tracker is to appear
Click the Add Row button to create as many rows as needed.
Next, enter the text in the first text box and the value in the second number box for each row.
Note for the value it should be whole number only e.g 56, 44 and not percentages %.When finished, click the Generate HTML button.
Copy the generated HTML code for your Progress Tracker.
Open the page where you want the progress tracker to appear.
Create a code block on the page and paste the code.
Click Add Row to create as many text items as you like. Enter the text and the corresponding percentage.