
Scrolling Logo Plugin
Installation Steps
Step 1: Code injection footer
Place the following codes CSS and Javascript in the Code Injection section.
Pages > Custom Code > Code Injection > Footer

Steps 2: - Scrolling Logo Design & Setup
Before uploading your logos, make sure all logo images are the same height. This ensures smooth scrolling and a consistent appearance.
To add your logos:
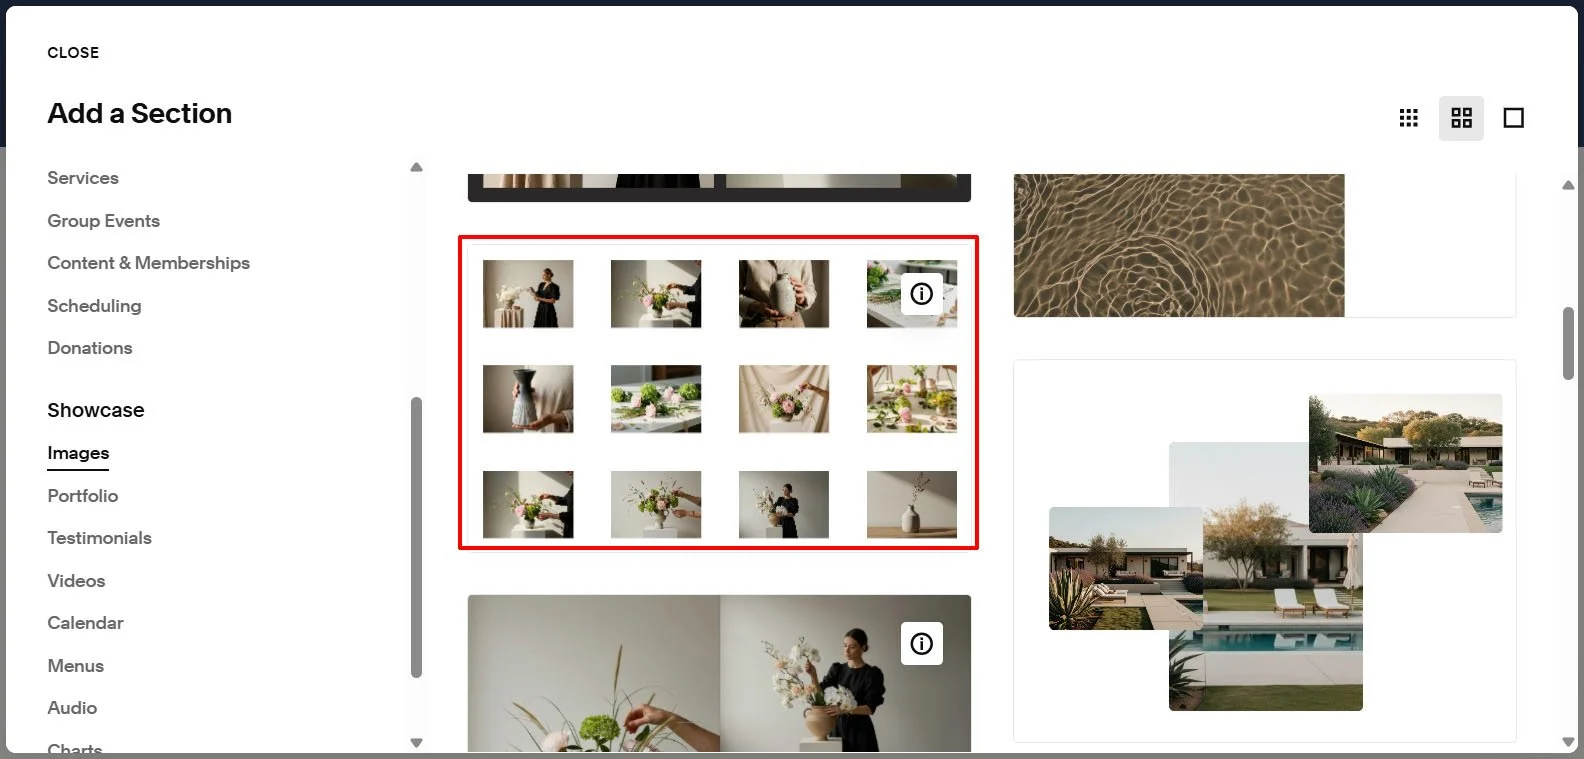
Click Add Section on the page.
Select Showcase, then choose Images.
Pick the layout that displays images in a grid (see image opposite).
Remove the default images and upload your logo files.
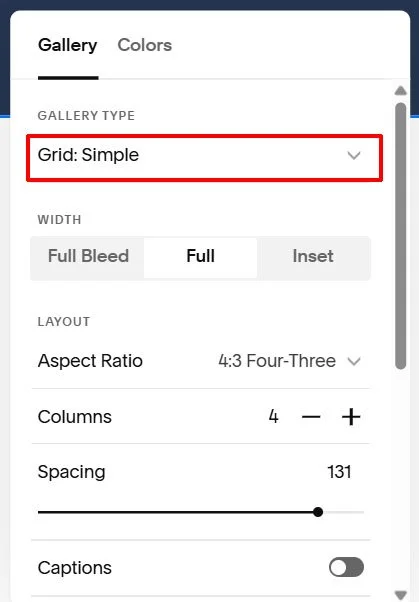
Next, configure the gallery settings:
Click Edit Section and set Gallery Type to Grid: Simple
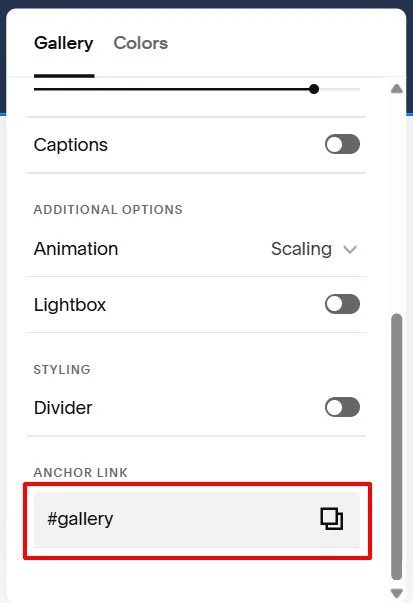
Toggle Captions ‘off’
Toggle Lightbox ‘off’
Set the Anchor Link to ‘gallery’
Once everything is set, save the page to apply the changes.
Step 3: Scrolling Logo Configuration
This section allows you to control how the scrolling logo slider behaves and looks.
Start by naming your section ID anchor link to gallery. This is required for the plugin to recognise the section.
Within the gallery section, you can customise the following settings:
Background colour – Sets the background behind the scrolling logos
Pause on hover – Choose whether the animation stops when the user hovers over the logos
Scroll direction – Define the direction the logos move (left or right)
Scroll speed – Controls how fast the logos scroll across the screen
Slider height – Sets the height of the logo images
Top and bottom margins – Adds spacing above and below the slider
Logo spacing – Adjusts the space between individual logo images
Note:
To add multiple scrolling logo sections to the same page, repeat steps 2 to 4 for each section and name the anchor link IDs sequentially: gallery2, gallery3, gallery4, etc.
Each gallery section can have its own unique settings.
Anchor Link
Gallery Background Color
Pause Gallery on Hover
Gallery Direction
Gallery Scrolling Speed
Gallery Height
Gallery Margin Top
Gallery Margin Bottom
Space between Logos
Step 4: Copy Scrolling Logo Configuration Settings
Place the following code in the Custom CSS section.
Pages > Custom Code > Custom CSS
/*-- Scrolling Logo plugin © IGH Creations --*/
/*------------------------------------------------------------*/
/* Anchor Link: Gallery */
section[id*="gallery"] {
--pc-scroll-background: #000000; /* Background Colour gallery */
--pc-pause-on-hover: No; /* Enable/Disable pause on hover gallery */
--pc-scroll-direction: Left; /* Scroll direction for gallery */
--pc-scroll-speed: 80s; /* Animation speed for gallery */
--pc-image-slider-height: ; /* Custom image height gallery */
--pc-margin-top: 10px; /* Custom margin top gallery */
--pc-margin-bottom: 10px; /* Custom margin bottom gallery */
--pc-padding: 0 15px; /* Space between logos gallery */
}