What Is Blog Pagination?
If you've ever scrolled to the bottom of a blog page and seen buttons like "Older Posts" or "Load More," that's pagination doing its job. It's how Squarespace breaks up your blog content into digestible chunks instead of loading every single post at once.
There are two separate pagination areas in Squarespace:
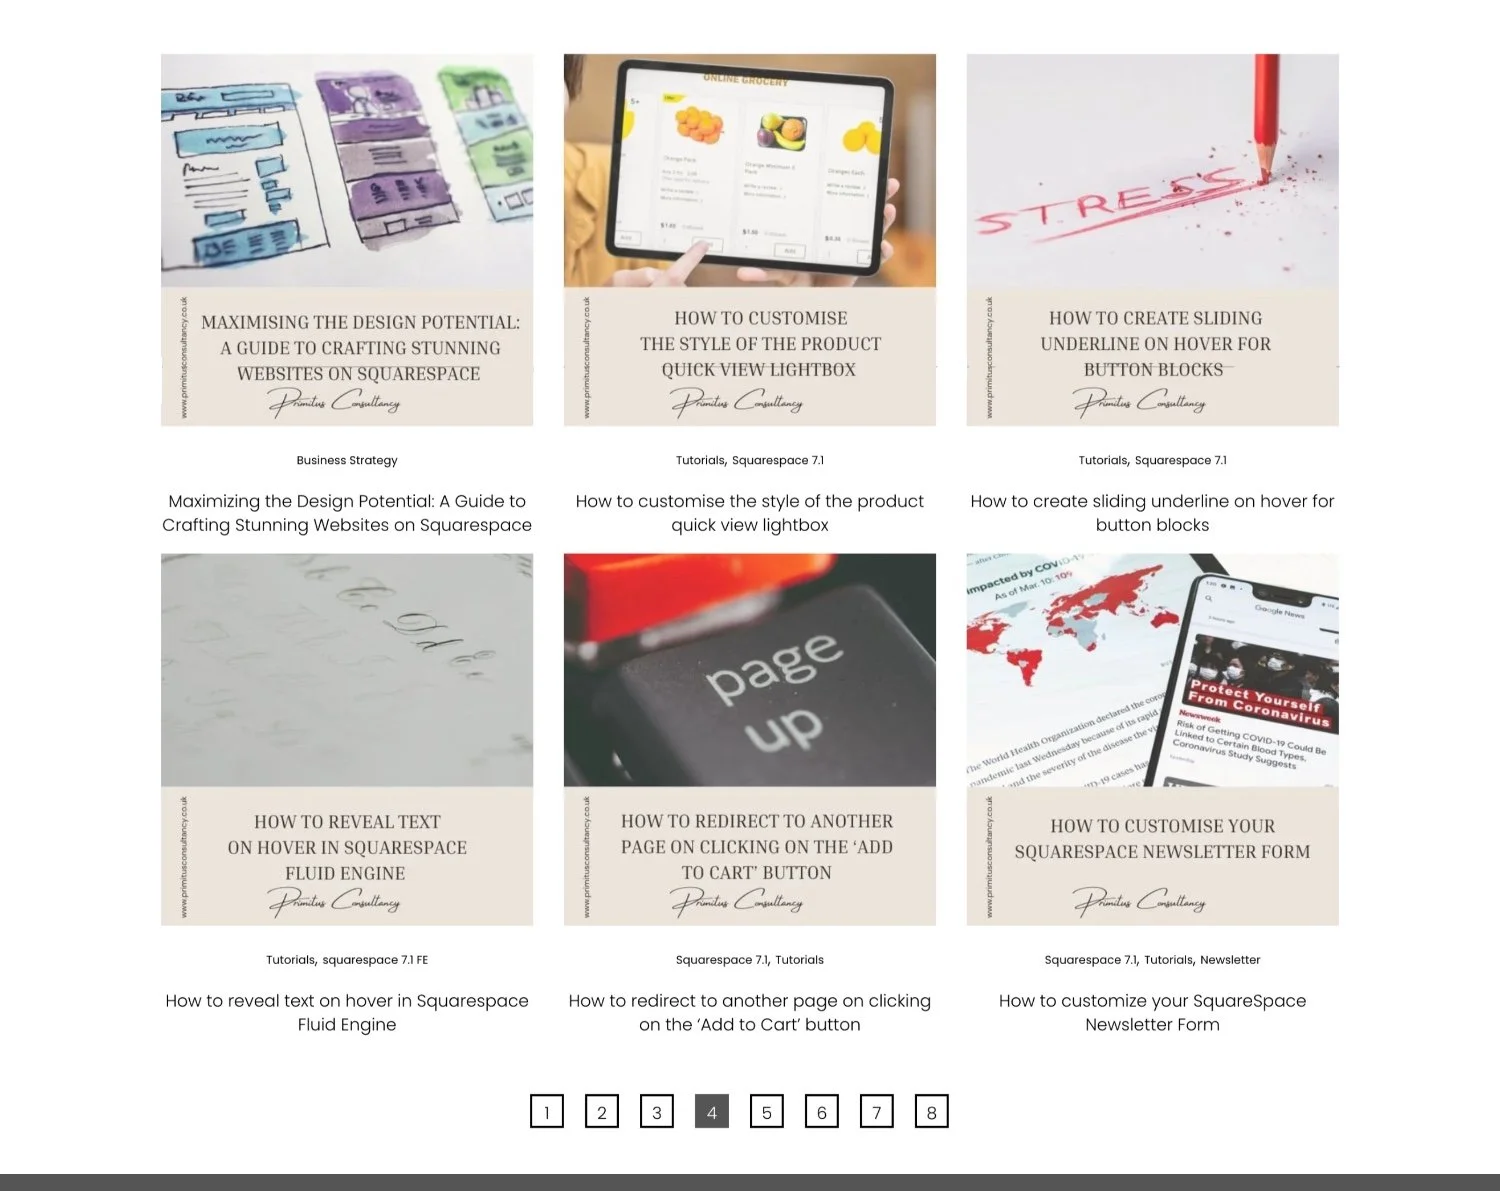
Your main blog page which controls how many posts appear before a "Load More" or "Older Posts" button shows up.
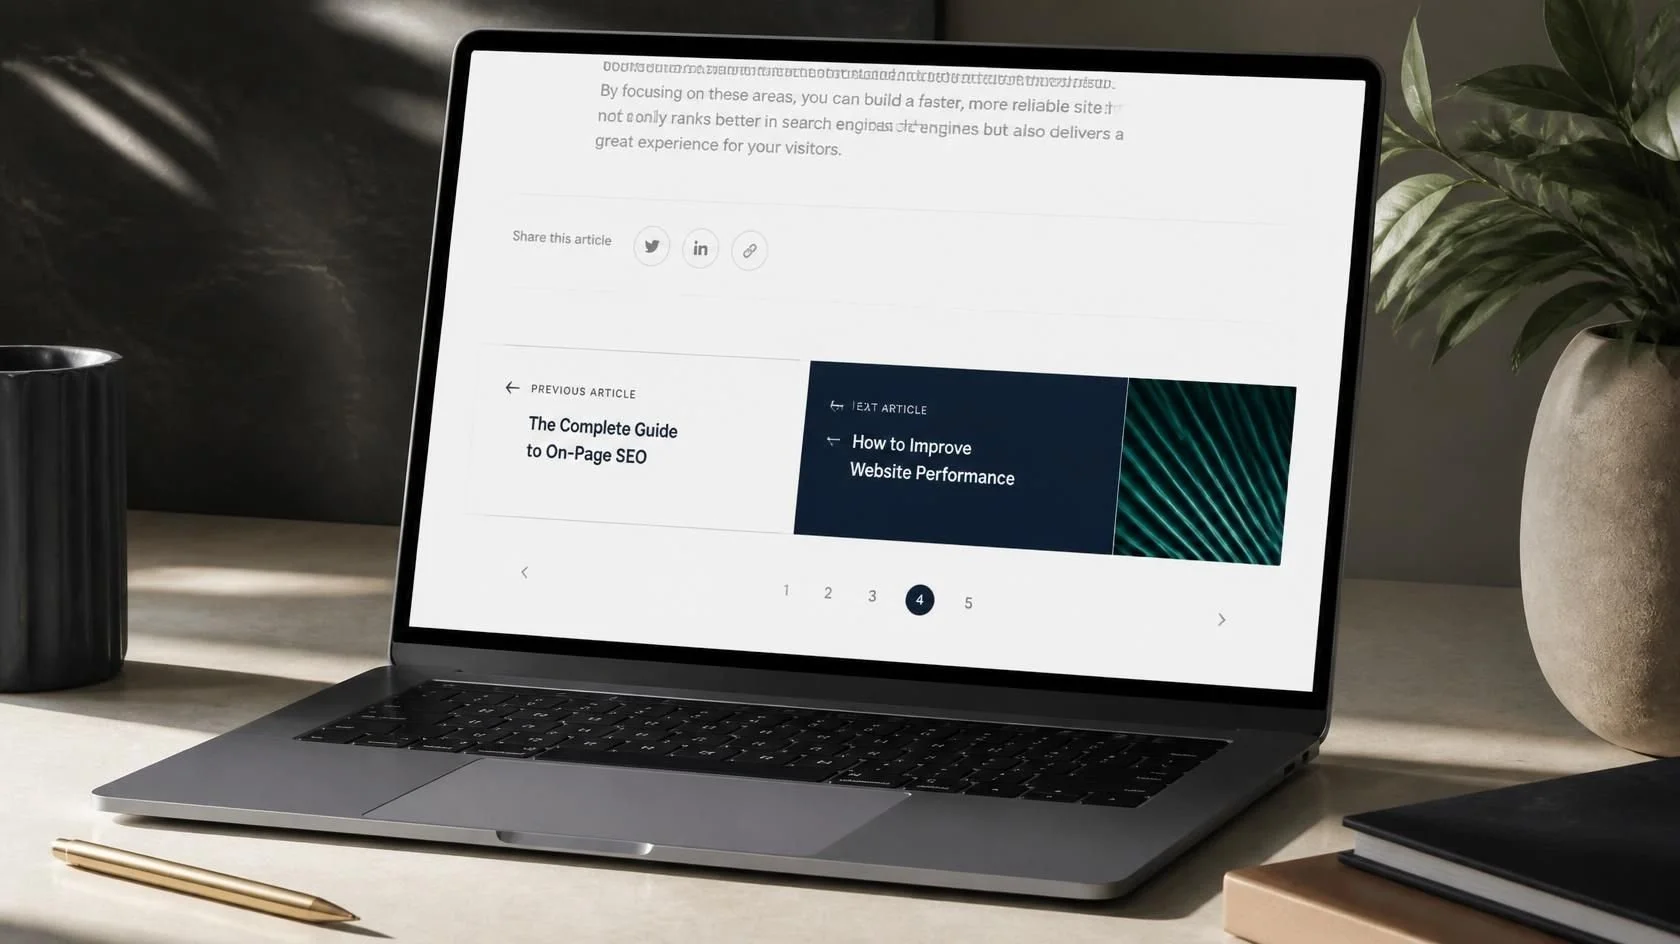
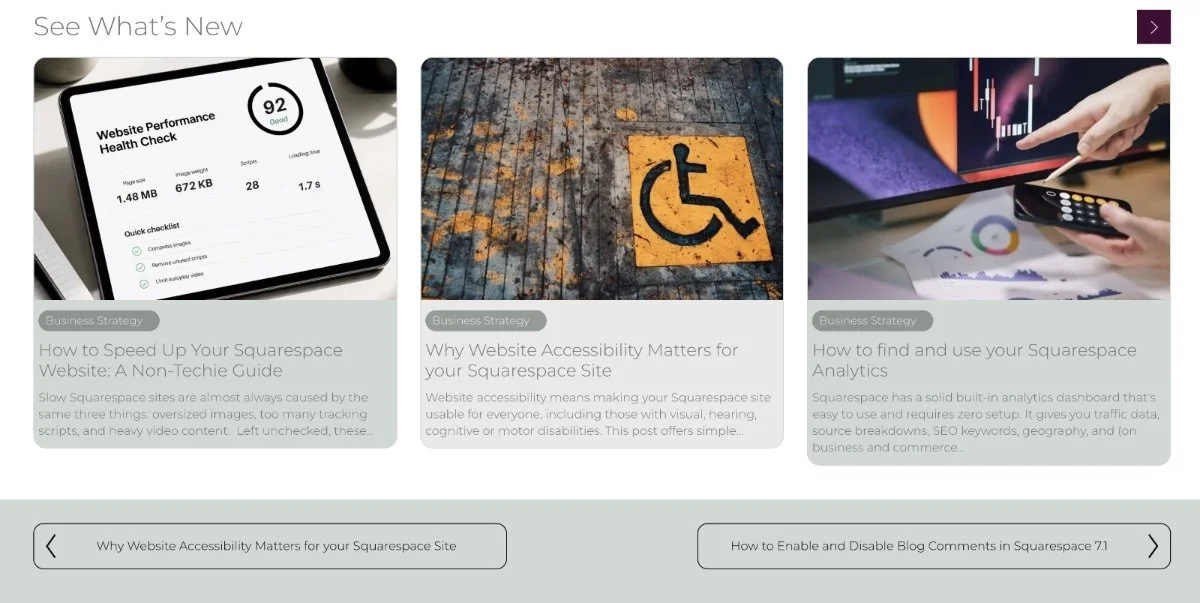
Individual blog posts which control the "Previous Post / Next Post" links found at the bottom of each post.
Both are adjustable, and in this tutorial, we’ll walk through both pagination areas, and I’ll show you how to customise them.
Part 1: How to Change the Number of Posts Per Page
This setting controls your main blog feed — not individual posts.
Step 1: Go to your Pages panel on the left side of your Squarespace editor.
Step 2: Hover over your Blog page in the list and you’ll see a small gear icon. Click on it.
Step 3: This opens your Blog Settings. Stay on the General tab.
Step 4: Scroll down to Posts Per Page. Type in the number of posts you want to display.
Quick tip: If your blog uses a two or three column grid layout, display a multiple of your column count (e.g., 6, 9, or 12 posts for a three-column layout) to create a clean look.
Step 5: Click Save and you're done with this part.
Part 2: How to Style Your Pagination Text
Customise the appearance of your “Previous Post” and “Next Post” links at the bottom of your individual blog posts by changing things like font size, weight and letter spacing.
Step 1: In your site editor click into your Site Styles area, the paintbrush icon in the top right corner.
Step 2: Click on the arrow next to Fonts.
Step 3: Select Assign Styles.
Step 4: Scroll down to the Blog Post category and click on Pagination.
Step 5: Click the down arrow next to style, to choose from paragraph, heading, miscellaneous or custom.
Step 6: Select custom and you'll see several settings that you can change to customise the appearance of your pagination text.
Step 7: Once you're happy with your changes, click Save.
Breaking Down the Font Settings
Below is a simple breakdown of the custom settings available and what they do.
| Setting | What It Does |
|---|---|
| Style | Choose a base style category: Paragraph, Heading, Miscellaneous, or Custom |
| Family | Pick the font you want to use for the pagination text |
| Weight | Controls how thick or thin the text looks (like bold vs light) |
| Style | Switch between normal or italic text |
| Letter Spacing | Adds or reduces space between individual characters |
| Text Transform | Changes capitalisation to either uppercase, lowercase, capitalise or none |
| Line Height | Adjusts the vertical space between lines of text |
| Pagination Size | Sets the actual font size of the pagination text |
Frequently Asked Questions
Q: Can I hide the pagination links on individual posts completely?
A: Not through Squarespace's built-in settings directly, but you can use custom CSS to hide them. That's a more advanced approach, so if you're not comfortable with code yet, it's worth leaving them visible for now.
Q: My "Posts Per Page" setting doesn't seem to be working. What should I check?
A: First, make sure you hit Save after entering your number. Also double-check that you're editing the correct blog page if your site has more than one blog section.
Q: Will changing the pagination font affect other text on my site?
A: No. The Assign Styles section in Squarespace is designed to let you target specific elements, so changes to your Blog Post Pagination won't spill over into your body text or headings.
Q: I don't see "Assign Styles" when I click Fonts. What's going on?
A: This is a common one! Make sure you're using Squarespace 7.1 and not an older version. The layout of Site Styles changed significantly between versions. If you're on 7.0, the steps will look a bit different.
Q: How many posts per page is ideal for SEO?
A: There's no magic number but keeping it between 6 and 12 is a good starting point. Too few posts can frustrate visitors who want to browse, and too many can slow down your page load time.
Final Thoughts
Pagination might seem like a small detail, but it actually plays a bigger role in how visitors experience your blog than most people realize. Getting it set up the way you want takes just a few minutes, and you only have to do it once. Don't be afraid to experiment with the settings as Squarespace shows you a live preview before you save anything.
Found this helpful or want to know more? Contact us here and share this with a fellow Squarespace user who's just getting started!